Installing kbp2video
Manual Install
Windows
Note
If you already have kbp2video installed, we recommend uninstalling before installing a new version. The way the installer currently works, it does not delete files that are no longer relevant, it only adds any missing files and updates any outdated ones. Your settings will still be retained during uninstall.
A Windows installer is available for each release. This will install kbp2video along with all its dependencies and add a shortcut to your start menu for kbp2video as well as a debug mode you can run in to provide additional troubleshooting information. It can be found in the GitHub Releases page. Note this should be compatible with 64-bit Windows 7 and higher (the installer itself is 32-bit but the app bundles 64-bit Python and Qt).
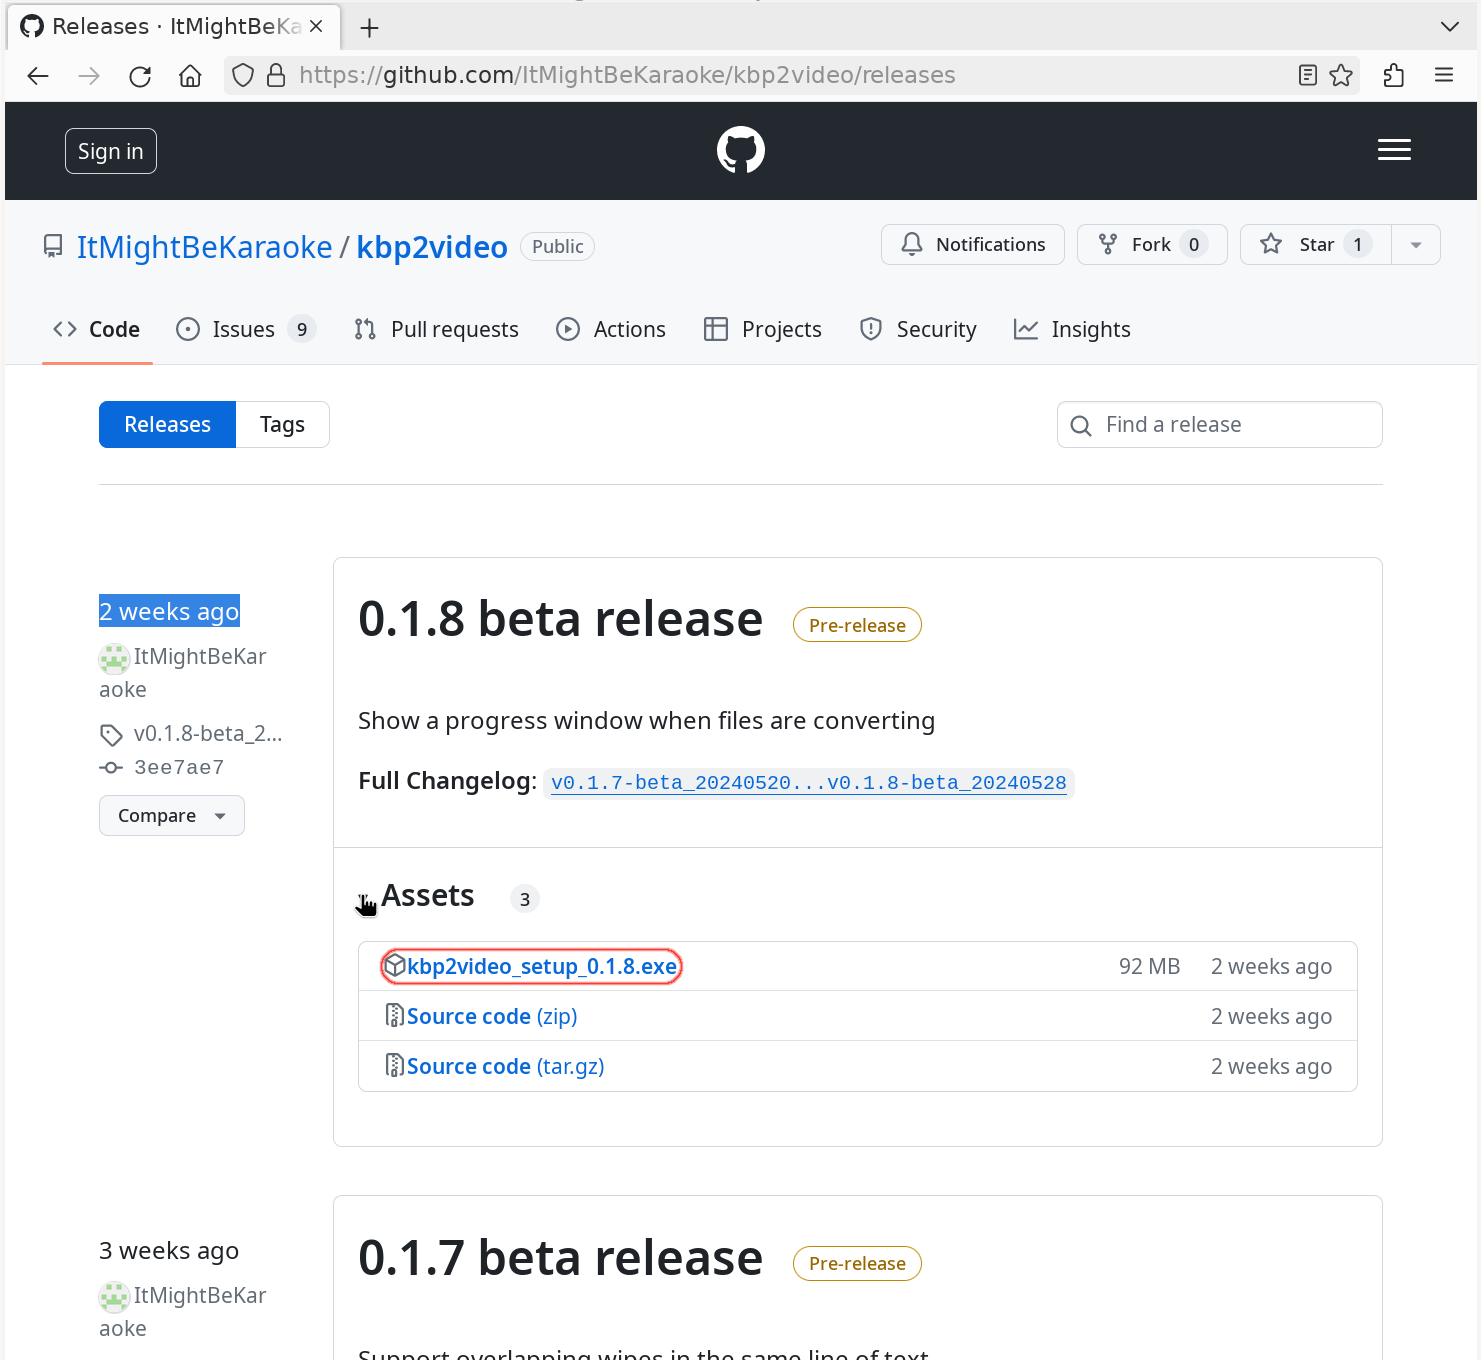
Expand the Assets for the desired release and download the setup .exe.
When you open the setup .exe, Windows will likely ask you to confirm if you want to run it. It will show it was created by an unknown publisher because I don’t yet have the signing key and hardware dongle required to set a publisher name.
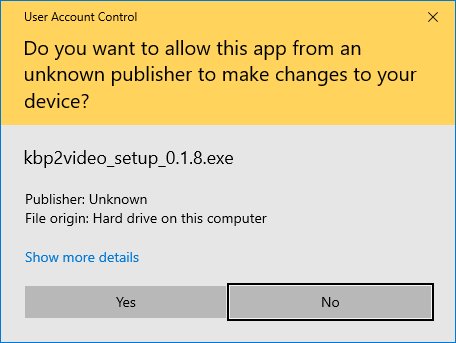
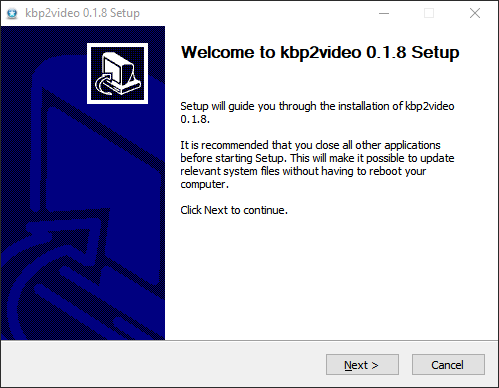
Hit Yes to proceed. Then you will see a typical installer wizard.
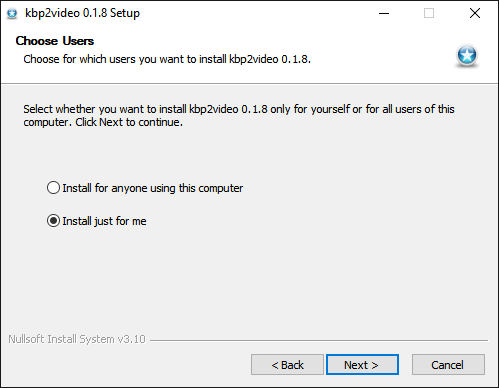
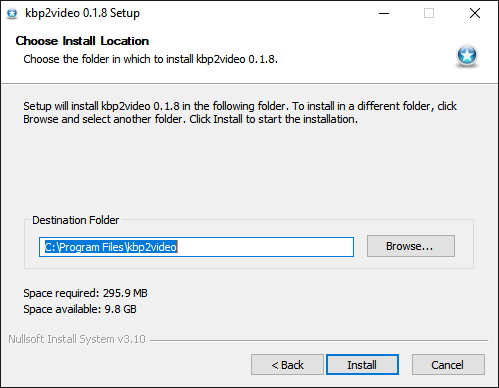
You can install for your user only, where it will default to something like C:\Users\USER\AppData\Local\Programs or you can install for all users, where it will put it in Program Files by default.
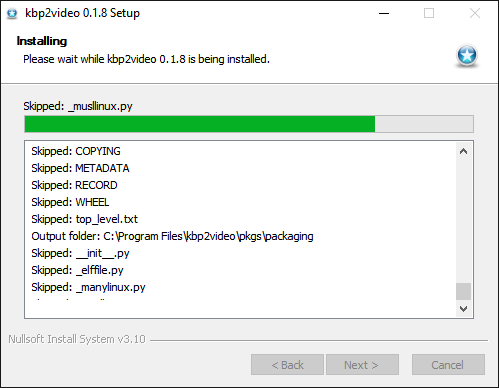
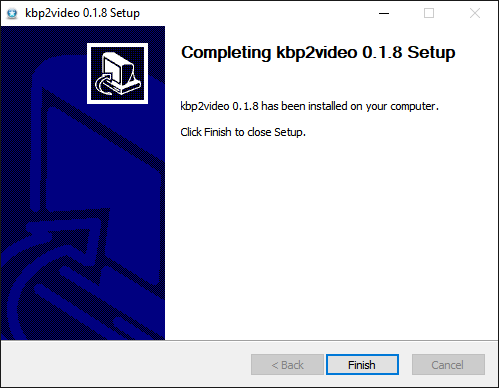
Finally, it will show the install progress, followed by a “Finish” button
Once installed, there will be two shortcuts added to your start menu, one for kbp2video, and one for kbp2video (debug mode).
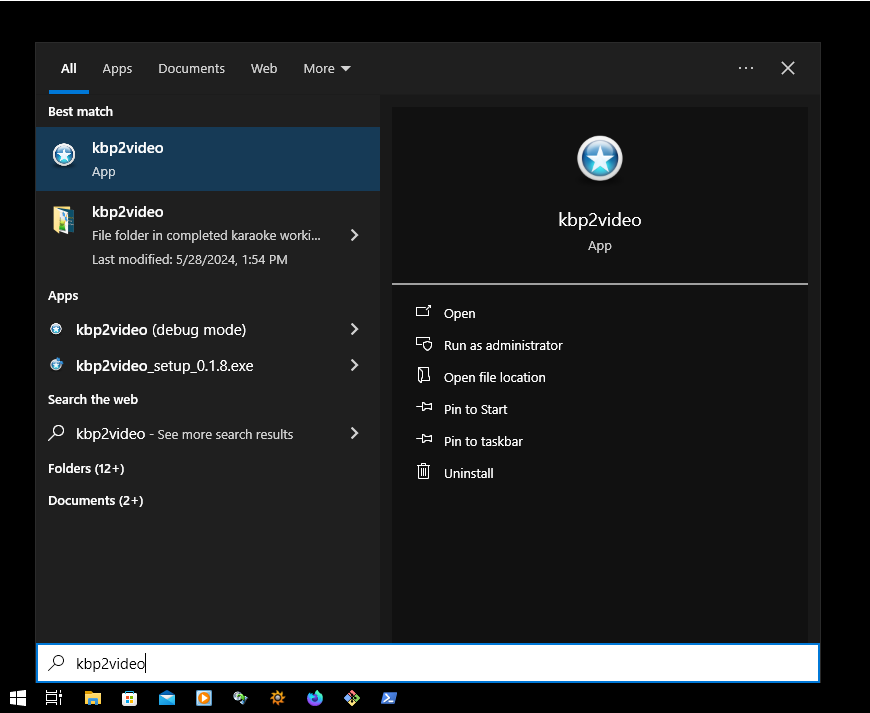
Feel free to pin to your start menu or taskbar if desired for easier access.